

The reader connection
Open and close the single link between the console and the workstation NFC reader, choose the working brand and the reader used.
Every NFC page of the console talks to the same reader, over a single shared link. This is where you open it and close it, at /nfc-connection. You come through here before encoding, before scanning UIDs and before wiping a chip.
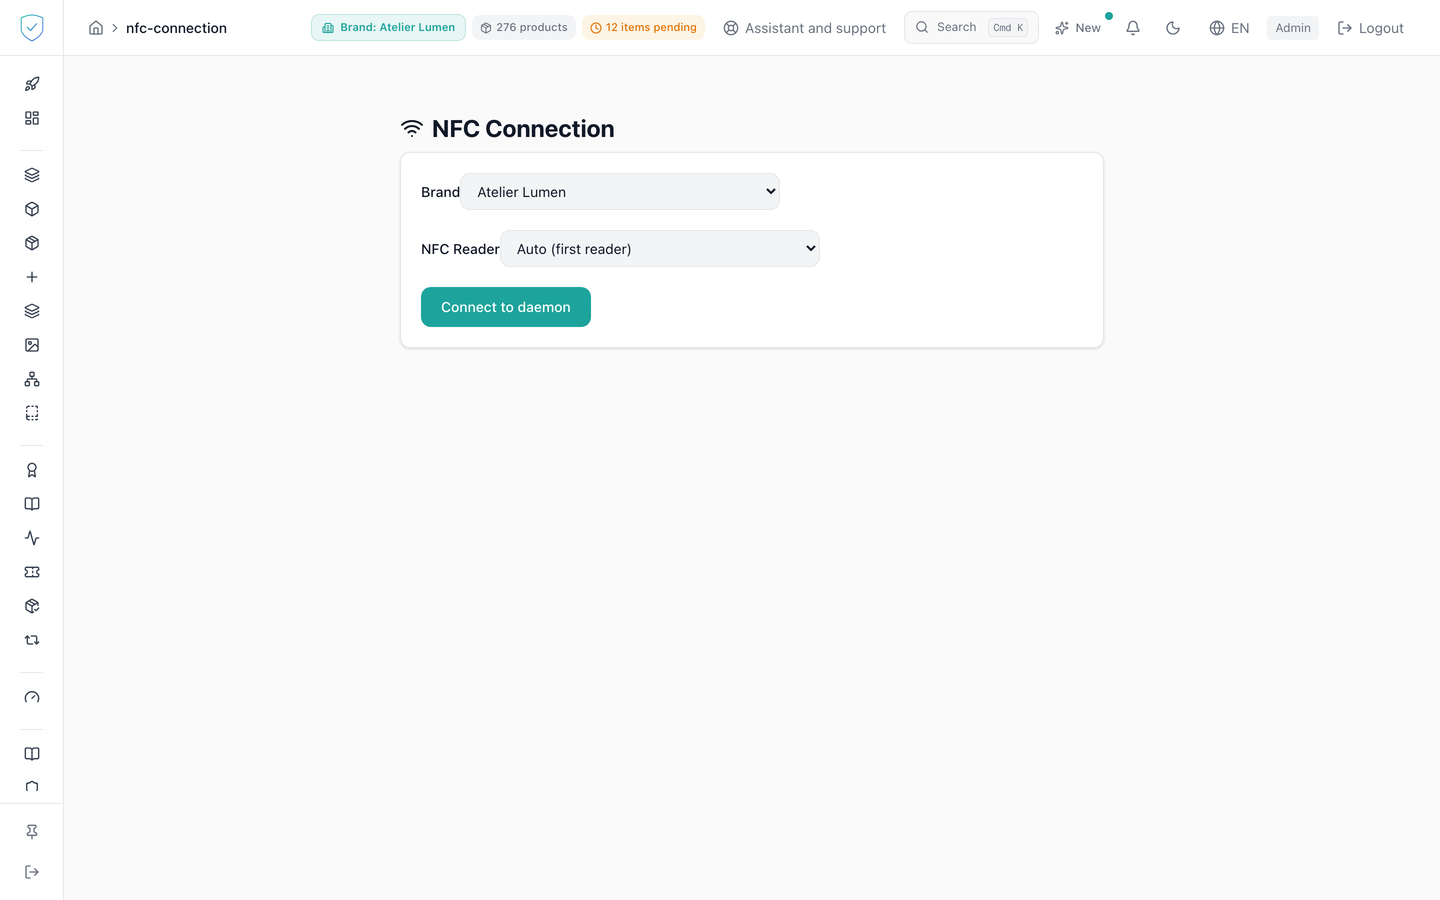
#What the screen shows
Two dropdown lists, the working brand and the NFC reader. The reader list starts with an automatic choice, which lets the workstation take the first reader plugged in.
A single button carries both states of the link: "Connect to daemon" when it is closed, "Daemon connected" when it is open. On opening, the console sends "hello" then "get_readers". The "hello" answer fills the reader list and the badges shown. A "readers" answer updates the reader list alone.
Once the link is open, up to three badges show what the workstation declares: "KMS enabled" or "KMS disabled (DEV)", "Key0: Dev (skip)" or "Key0: Lock", "Originality: ON" or "Originality: OFF". A sentence then confirms: "Connected to NFC daemon. You can now use any NFC page."
#What you can do here
- Choose the working brand from the list.
- Choose the reader, or leave the automatic choice. The choice is kept in the browser under
st_reader_hintand replayed when the other NFC pages load. When a UID read reports which reader actually served, that reader is fed back into the displayed choice. - Open the link, or close it, with the same button.
Nothing else is set here. The badges are declared by the workstation and only displayed.
#What governs access
This screen serves the identity of pieces. For a brand on the Compliance offer, its menu entry stays visible but locked, marked "Identity", and the server refuses its operations with the code OFFER_EXCLUDES_IDENTITY (the two offers). Opened from a saved link or a typed address, the screen shows "Included in the Compliance + Identity offer" inside the console, not a refusal about the plan.
The "Reader connection" entry lives in the "Tools" section of the menu, carried by the nfc_encoding capability and locked, while staying visible, for the basic and dpp brand profiles. The /nfc-connection route is subject to that same capability. Without it, the console shows "Feature unavailable" in place of the screen.
The brand list is only requested for an administrator account. It is cached for 5 minutes, and a single brand is preselected.
The link targets the local workstation, at wss://127.0.0.1:17351, path /nfc-ws by default. It is always encrypted, to avoid mixed content. Host and port cannot be set.
#What the screen refuses
- The three badges are only rendered when the link is open and the workstation has actually declared the value.
- The confirmation sentence only appears when the link is really open. The rest of the time, nothing is promised.
- A link error raises no alert. The state silently goes back to not connected.
- As long as a link is open or opening, no second one is created. When reopening, the console first closes the one it had left behind.
Was this page helpful?
Your answer opens a pre-filled email in your mail app, addressed to contact@sealtrust.io. You read it over before sending it.